Setting up email in Windows Mail is quite straight forward. First start up Windows Mail.
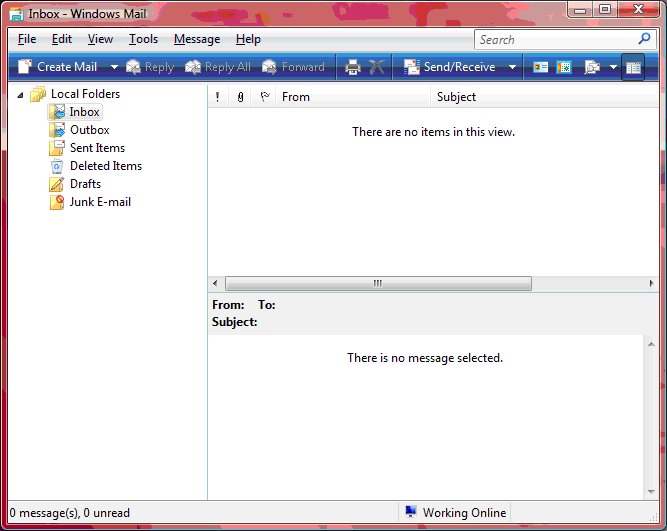
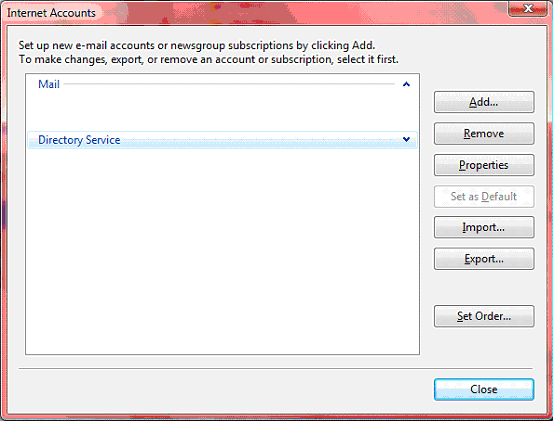
On the Tools menu select Accounts, when the Internet Accounts dialogue appears, click the “Add” button.
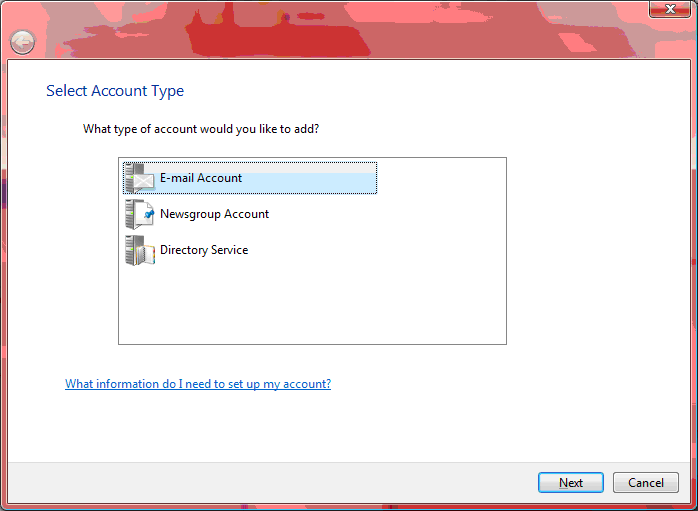
Select “E-mail Account” from the account type list.
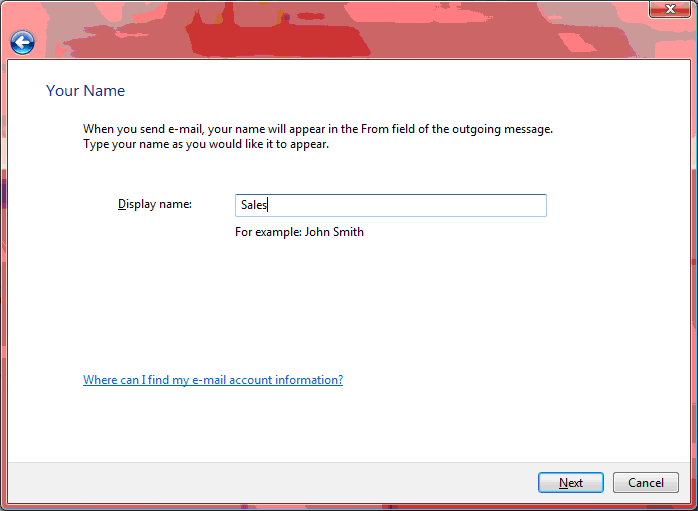
Enter the display name for this account
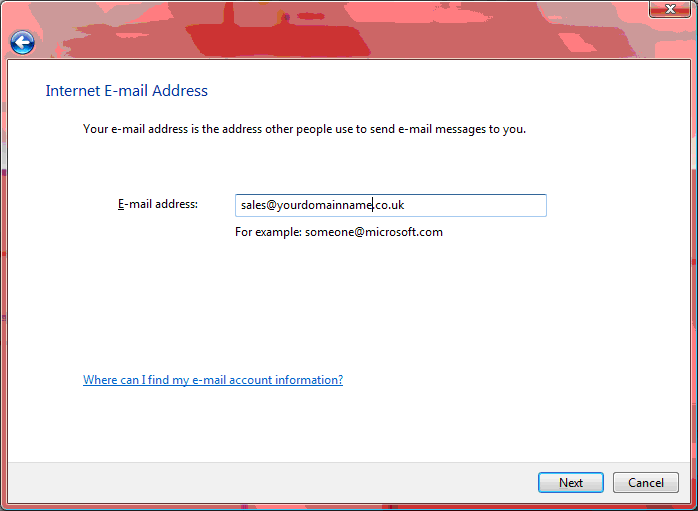
Now enter the email address for this account
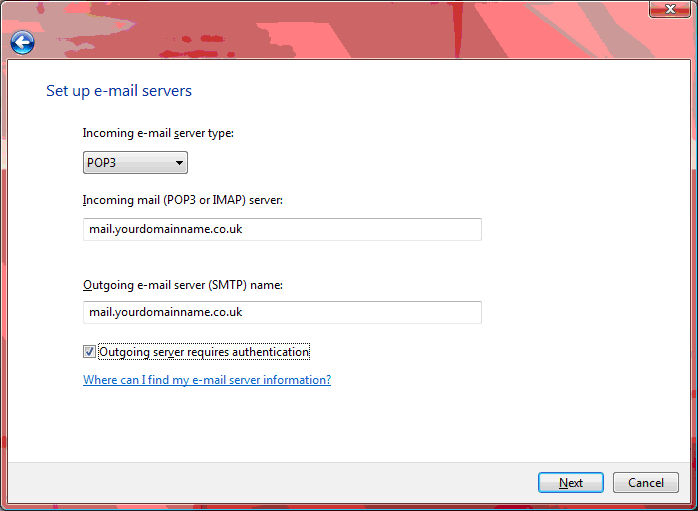
Enter the POP3 and SMTP servers (they will be the same for SellerDeck mail).
Ensure you tick the box “Outgoing server requires authentication”
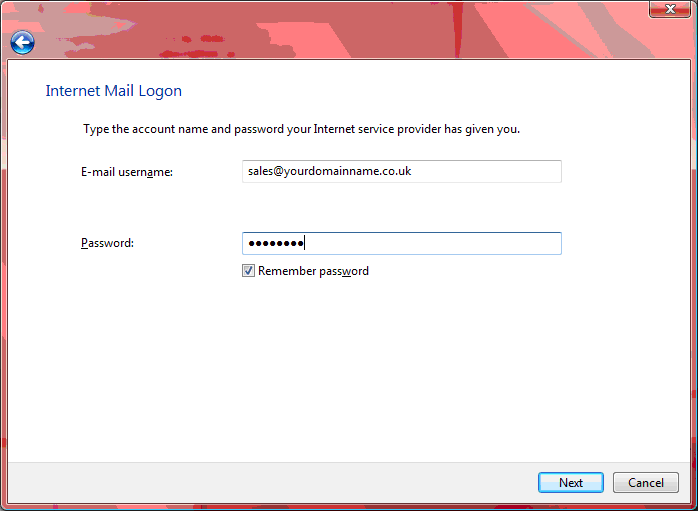
Now enter the user name and password for the account, the user name will be the same as the email address.
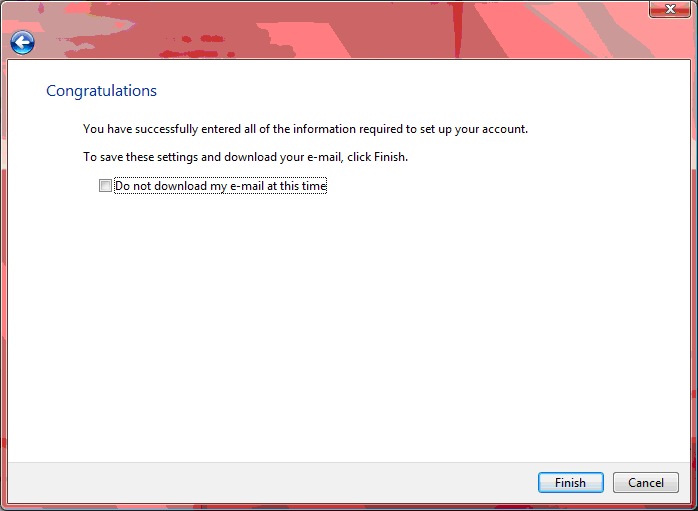
That’s your new email account finished, test it by sending an email to someone or to another account.
On the Tools menu select Accounts, when the Internet Accounts dialogue appears, click the “Add” button.
Select “E-mail Account” from the account type list.
Enter the display name for this account
Now enter the email address for this account
Enter the POP3 and SMTP servers (they will be the same for SellerDeck mail).
Ensure you tick the box “Outgoing server requires authentication”
Now enter the user name and password for the account, the user name will be the same as the email address.
That’s your new email account finished, test it by sending an email to someone or to another account.